Building a Command with Settings
This document assumes you have read and understood Building a Simple Command.
Your custom command may need to present options to the customer. This is done by extending the Settings of nsquared agents with a dialog for the command you are building.
The user interface will need to be defined as an Avalonia UserControl.
Step-by-Step creating an nsquared agent Command with Settings
This guide starts with the Simple Command built in the guide here.
-
Add the Avalonia UI package to the project. In terminal, in the same folder as the SimpleCommand.csproj file.
dotnet add package Avalonia --version 11.2.3 -
Add the Avalonia.ReactiveUI package to the project. In terminal, in the same folder as the SimpleCommand.csproj file.
dotnet add package Avalonia.ReactiveUI --version 11.2.3 -
Create a ViewModel class to hold the settings values. In terminal, in the same folder as the SimpleCommand.csproj file.
dotnet new class -n SimpleViewModel -
Open the
SimpleViewModel.csfile and edit it to contain a property that can be set.using ReactiveUI; namespace SimpleCommand; public class SimpleViewModel : ReactiveObject { private static string name = string.Empty; public string Name { get => name; set => this.RaiseAndSetIfChanged(ref name, value); } } -
To create the
Avalonia UserControlyou will use the Avalonia Templates. If you do not have them installed locally you can do this from terminaldotnet new install Avalonia.Templates -
Create a new
SettingsControlUserControl. In terminal, in the same folder as the SimpleCommand.csproj file.dotnet new avalonia.usercontrol -n SettingsControlThis will create two files in the project folder
SettingsControl.axamlandSettingsControl.axaml.cs -
Open the
SettingsControl.axamlfile and edit it to add aTextBoxbound to theNameproperty on the ViewModel.<UserControl xmlns="https://github.com/avaloniaui" xmlns:x="http://schemas.microsoft.com/winfx/2006/xaml" xmlns:d="http://schemas.microsoft.com/expression/blend/2008" xmlns:mc="http://schemas.openxmlformats.org/markup-compatibility/2006" mc:Ignorable="d" d:DesignWidth="800" d:DesignHeight="450" x:Class="SimpleCommand.SettingsControl"> <Grid VerticalAlignment="Top" HorizontalAlignment="Left"> <StackPanel Width="160"> <Label>Name</Label> <TextBox Text="{Binding Name}" /> </StackPanel> </Grid> </UserControl> -
Open the
SettingsControl.axaml.csfile and add a constructor that takes the ViewModel as a parameter and sets it to the DataContext.public SettingsControl(SimpleViewModel viewModel) { InitializeComponent(); DataContext = viewModel; } -
In the
Command.csfile add a static field for the ViewModel and use it to return the UserControl in theSettingsControlproperty.private static SimpleViewModel ViewModel => new(); public object SettingsControl => new SettingsControl(ViewModel); -
Change the
HasSettingsproperty to return true.public bool HasSettings => true; -
Edit the
Performmethod to use theNameproperty of the ViewModel.Task<string?> IAgentCommand.Perform(string commandRequest, IAgentAnimations? animations) { if (commandRequest.Contains("simple", StringComparison.CurrentCultureIgnoreCase)) { return Task.FromResult<string?>($"hello {ViewModel.Name} I am doing a simple command!"); } return Task.FromResult<string?>(null); } -
Build the Command.
-
Run the nsquared agents application and open Settings, and then go to
Manage Commands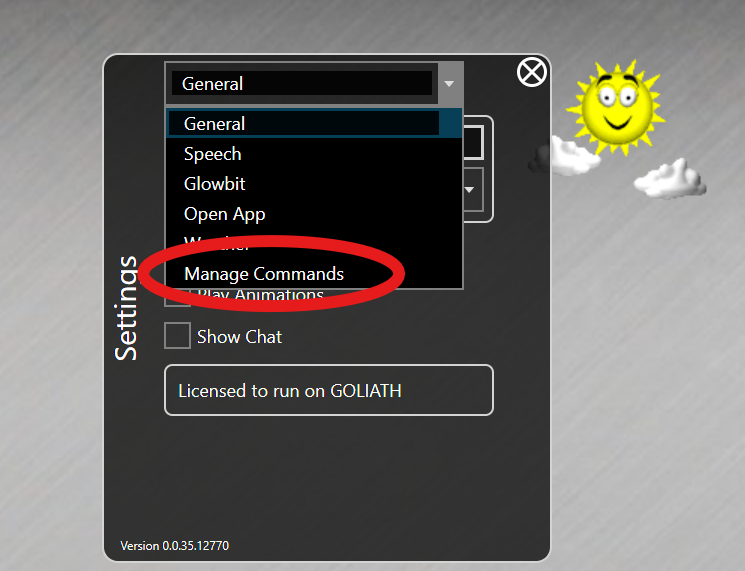
-
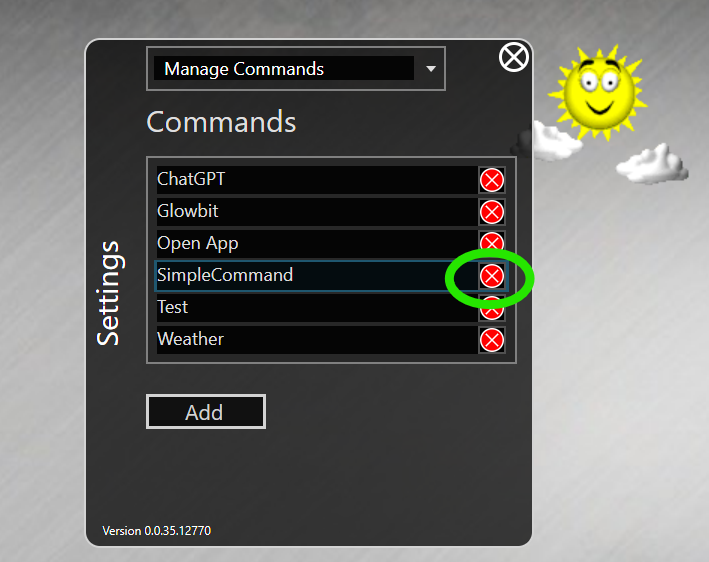
If you have an older version of SimpleCommand installed then first remove it and restart the nsquared agents app.
-
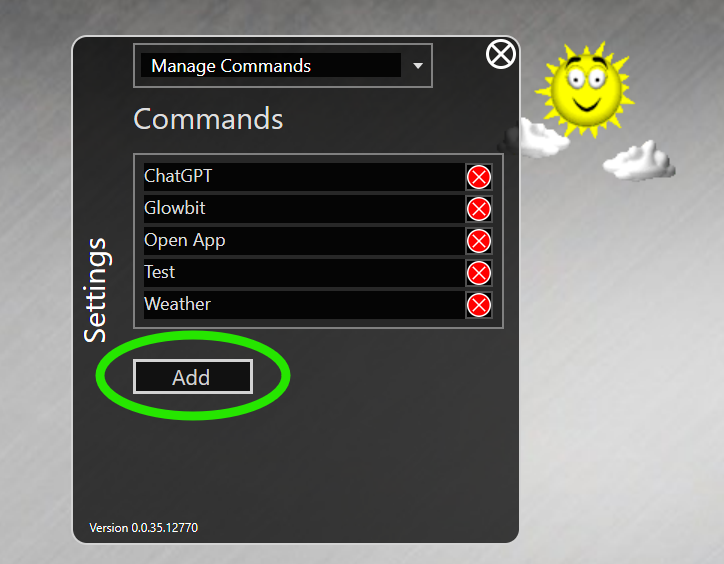
In the Commands select Add
-
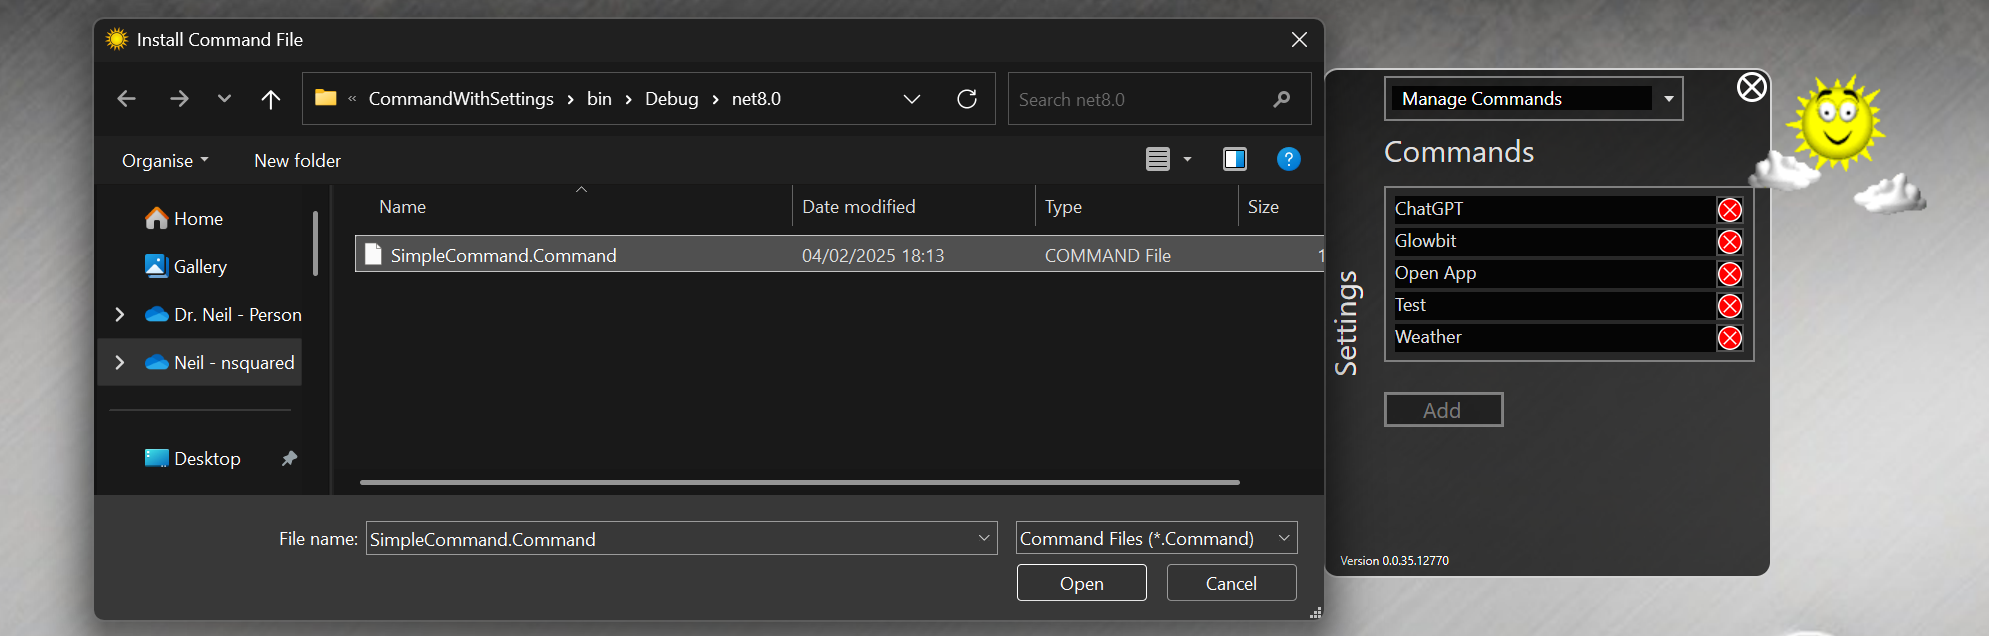
Find the SimpleCommand.Command file you have built.
-
Restart the nsquared agents application to see the SimpleCommand settings option available in Settings screen.
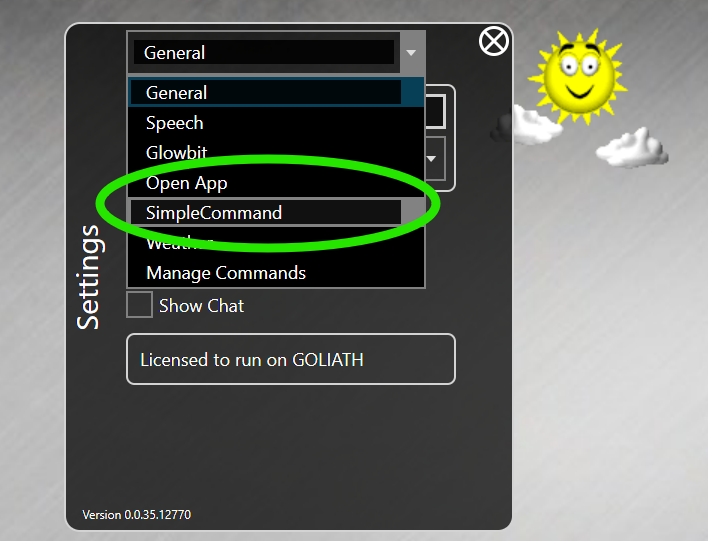
-
Select the SimpleCommand and set a name value
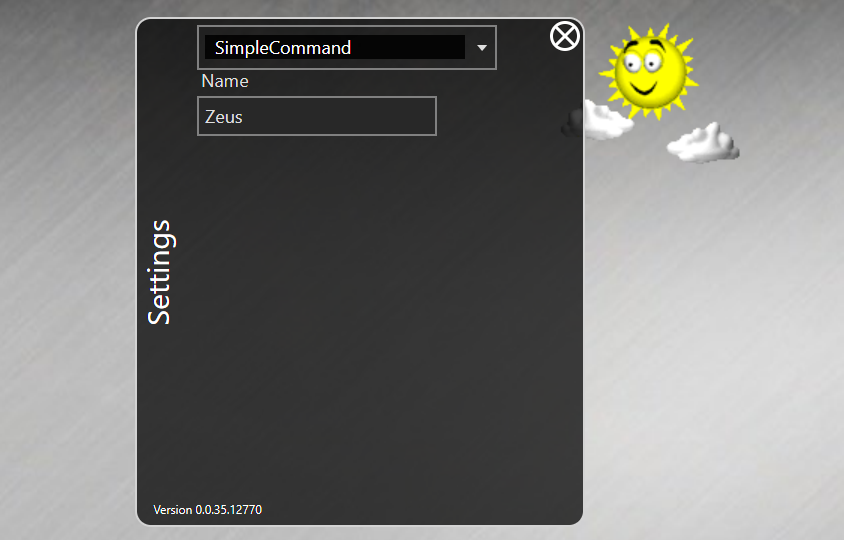
-
Invoke the SimpleCommand by using the keyword
simplein your request and you will see theNamesetting is used by the command.